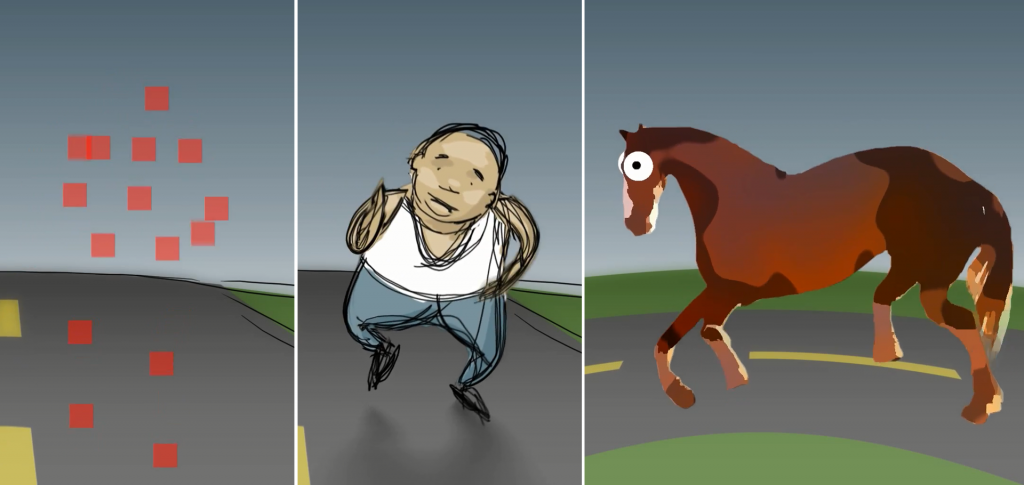
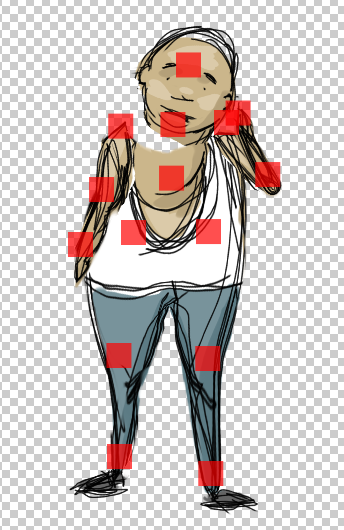
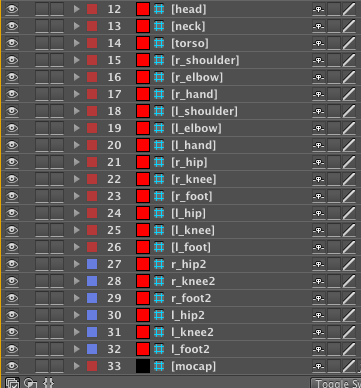
The same raw tracking data applied to an exaggerated human character and a non-human character
Just because KinectToPin data starts out as a generic human skeleton doesn’t mean you’re limited to that in your character designs.
What is retargeting?
You may be wondering why you need to connect the mocap source layer to a series of control nulls instead of using the track data directly. One of the biggest reasons for that is that it enables you to reposition the source data without writing offset expressions. That means you can animate characters that aren’t shaped exactly like you — or are even shaped nothing at all like you. Adjusting the data in this manner is called retargeting.
[youtube]http://www.youtube.com/watch?v=wliDqcMtA-o[/youtube]
Retargeting for nonstandard (but roughly human) shapes
For basic position changes, like rigging a puppet with stubby legs or really broad shoulders, it’s simply a matter of dragging things into place. Just select the control null you want to shift and move it to the correct position. If your character still isn’t working the way you want it to, you may want to delete and re-apply the puppet pin the control null is connected to.
A couple quick notes:
- If you’re using the 2D template like the examples above do, the control nulls will move in the opposite direction when you drag them (drag left, layer moves right etc.).
- If you want to move the nulls elsewhere in the comp without affecting the character, you can change the location of their anchor points.
- If you’re using the 3D template, the control nulls move in the right direction, but it’s very likely they’ll be hiding offscreen much of the time, and it’s often easiest to scrub the position values on the timeline or shift them with the arrow keys.
Retargeting for arbitrary characters
It gets a little trickier when you need to animate a totally different type of character, like a four-legged animal. You can’t just click and drag, because you may need to have more than one body part reference the same data, or you may need to combine multiple tracks to control a single puppet.
The first thing you need to do is to drag the control nulls for the points you’ll be using into an initial position.
In the goofy dancing horse example, both the front and back legs refer to the leg points, so the next step is to duplicate the control nulls for the legs. Color coding helps keep track:
Now position the new control nulls where they belong. You can call them anything you want (e.g. “r_foot2” could be “r_front_hoof”), as long as you refer to them by the same name when you label your puppet pins.
Then, as usual, place your pins, label everything to match, and click the “Rig Puppet Layers” button in the KinectToPin UI panel.
If you want to add a secondary source of track data (say you’re animating an octopus and need eight independent limbs), you’re going to have to edit some expressions. Export your new track from KinectToPin as Point Controls (for 2D) or 3D Point Controls (for 3D). Duplicate the “mocap” layer, give it a different name (say, “mocap2”), and copy and paste the new track data onto this layer. Duplicate any control nulls you want to refer to the new layer, and replace any references to the mocap source layer in their position expression with the new source layer name, like so:
These techniques should enable you to animate almost any character type using Kinect motion capture data. You can also just make a whole bunch of goofy horses, if that’s your sort of thing. (Goofy horse protip: adding a wiggle expression to the position of the pupil = instant googly eyes!)


